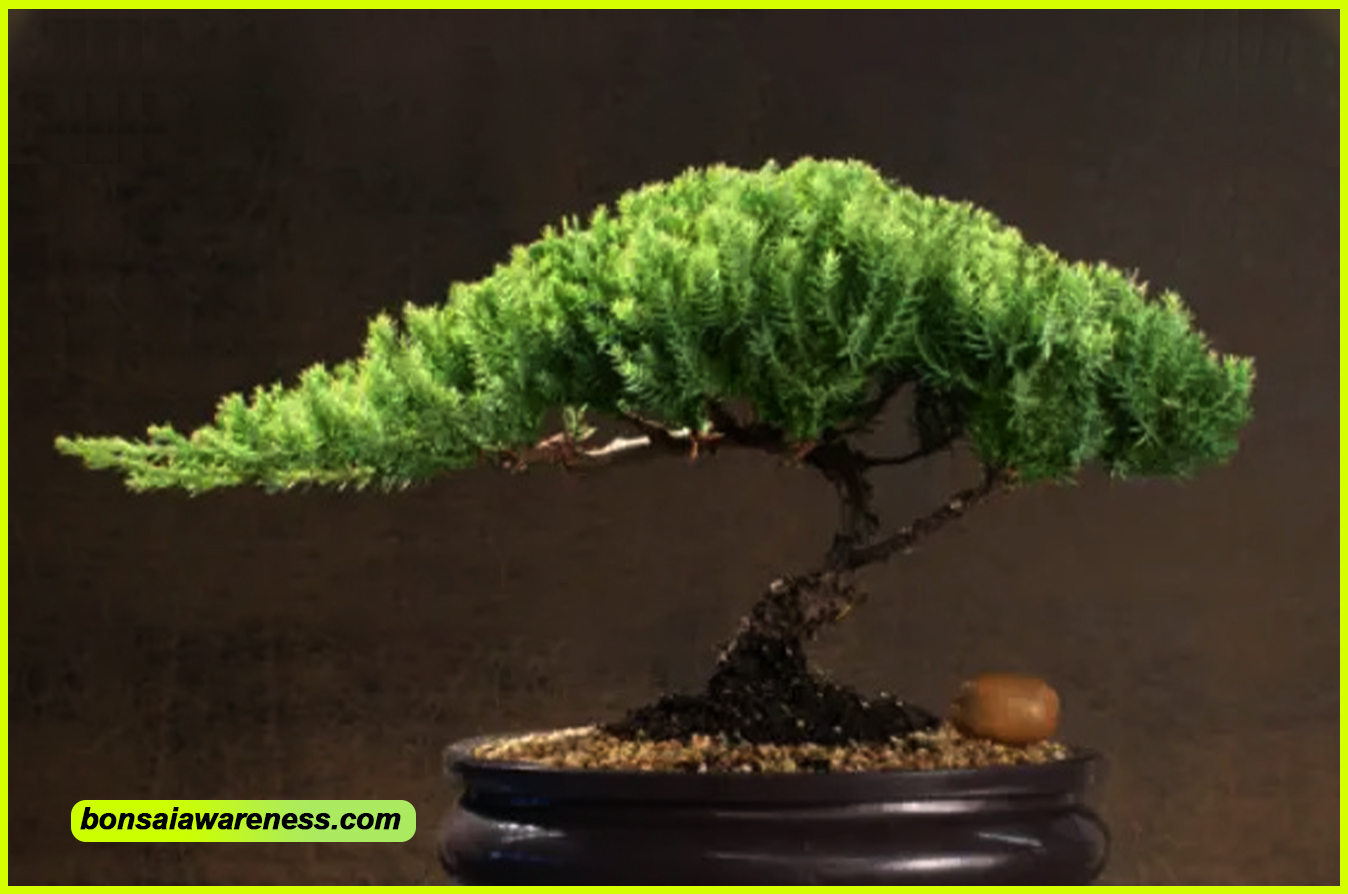
Learn to draw a bonsai tree by following these simple steps. Begin by sketching the tree’s basic shape and adding small details to create a realistic representation.
Bonsai trees are known for their intricate branches, so pay attention to the placement and direction of each branch. Use shading techniques to add depth and dimension to your drawing. With practice and patience, you can create a beautiful bonsai tree drawing that captures the essence of this ancient art form.
Choosing The Right Materials
When drawing a bonsai tree, it’s important to choose the right materials. For paper or canvas, opt for a high-quality surface that can handle the medium you plan to use. This ensures that your drawing will look its best and stand the test of time.
To create a realistic bonsai tree drawing, you’ll need various drawing tools. Pencils of different grades, ranging from H (hard) to B (soft), are essential for achieving different tones and textures. Charcoal pencils can add depth and shading, while colored pencils provide vibrancy and detail.
Add dimension to your drawing with fine-tipped pens or markers for outlining and precise details. Brushes are useful for creating different textures and blending colors. Don’t forget an eraser for corrections and a sharpener to keep your pencils sharp.
By selecting the right materials and tools, you’ll be well-equipped to create a beautiful bonsai tree drawing that captures the essence and intricacies of this ancient art form.
Understanding The Basics
The art of drawing a bonsai tree is a skill that requires observation and attention to detail. By focusing on the shapes and structures of a bonsai tree, you can begin to understand its unique characteristics. Start by closely observing the different elements of the tree – the trunk, branches, and leaves. Pay attention to the placement and positioning of each element, as well as the overall balance and harmony of the tree.
Once you have a good grasp of the shapes and structures, it’s time to move on to mastering line and form. Bonsai trees are known for their intricate and delicate details, which can be represented through carefully drawn lines and shapes. Practice creating smooth and flowing lines to depict the branches and leaves, while also paying attention to the varying thickness and textures. This will bring depth and realism to your bonsai tree drawing.
Sketching The Outline
Begin by sketching the outline of the bonsai tree. Start with basic shapes such as a circle for the top of the tree and a rectangle for the trunk. This will serve as your guide as you add details and proportions to the drawing.
Next, add the branches by drawing small lines coming out of the trunk. Remember to make them thinner as they extend further from the trunk. Use curving lines to create a more natural and organic look.
Once you have the basic shape of the tree, you can start adding leaves. Bonsai trees have small, delicate leaves, so draw them with fine lines or dots. Use varying sizes and directions to add depth and realism to the drawing.
Adding Depth And Dimension
When drawing a bonsai tree, it’s important to use shading techniques to add depth and dimension. By carefully creating highlights and shadows, you can bring your drawing to life. Start by lightly sketching the overall shape of the tree, then use a darker pencil to add depth to the trunk and branches. Next, focus on creating subtle highlights and darker shadows to convey the tree’s texture and form. Experiment with different strokes and techniques to achieve a realistic effect. Remember to observe actual bonsai trees for inspiration and practice regularly to improve your skills.
Finishing Touches
Sure! Here is the response in HTML format: “`htmlWhen adding texture and patterns to your bonsai tree drawing, focus on creating depth and dimension. Use cross-hatching and stippling techniques to create shadows and highlights. Incorporating color can bring your drawing to life. Use a variety of green shades for the leaves and browns for the trunk. Consider the use of a soft brush to blend colors and create a more natural look.
Frequently Asked Questions Of How To Draw A Bonsai Tree
How Do You Make A Bonsai Tree Step By Step?
To create a bonsai tree, follow these steps: 1. Select a suitable tree and pot. 2. Trim the roots and place the tree in the pot. 3. Prune the branches to create the desired shape. 4. Wire the branches to train them.
5. Water and care for the tree regularly.
How Do You Shape A Bonsai Tree For Beginners?
To shape a bonsai tree for beginners, start by trimming excess branches to create a desired shape. Regularly prune the tree to maintain its size and shape. Wiring can also be used to bend and shape branches. Regular watering and fertilizing are important to keep the tree healthy.
Happy bonsai shaping!
What Is The Easiest Bonsai Tree For Beginners?
The easiest bonsai tree for beginners is the Chinese Elm. Its adaptability, durability, and forgiving nature make it perfect for those new to bonsai. With proper care and attention to watering and light, beginners can successfully maintain a Chinese Elm bonsai tree.
How Do You Make A Bonsai Look Good?
To make a bonsai look good, follow these steps: 1. Choose a healthy tree or plant suitable for bonsai. 2. Prune regularly to maintain the desired shape and size. 3. Use proper soil mix and fertilize appropriately. 4. Water consistently, avoiding both overwatering and underwatering.
5. Display your bonsai in a suitable location with proper lighting and temperature conditions.
Conclusion
Drawing a bonsai tree might seem challenging, but with practice and patience, anyone can master this art form. By following the step-by-step guide provided in this blog post, you can create a beautiful bonsai tree drawing. Remember to pay attention to the details, such as the branches, leaves, and pot, to achieve a realistic representation.
With each stroke of the pencil, you’ll find yourself immersed in the tranquility and beauty of these miniature trees. So, grab your pencil and paper, and start creating your very own bonsai masterpiece today!


Leave a Reply