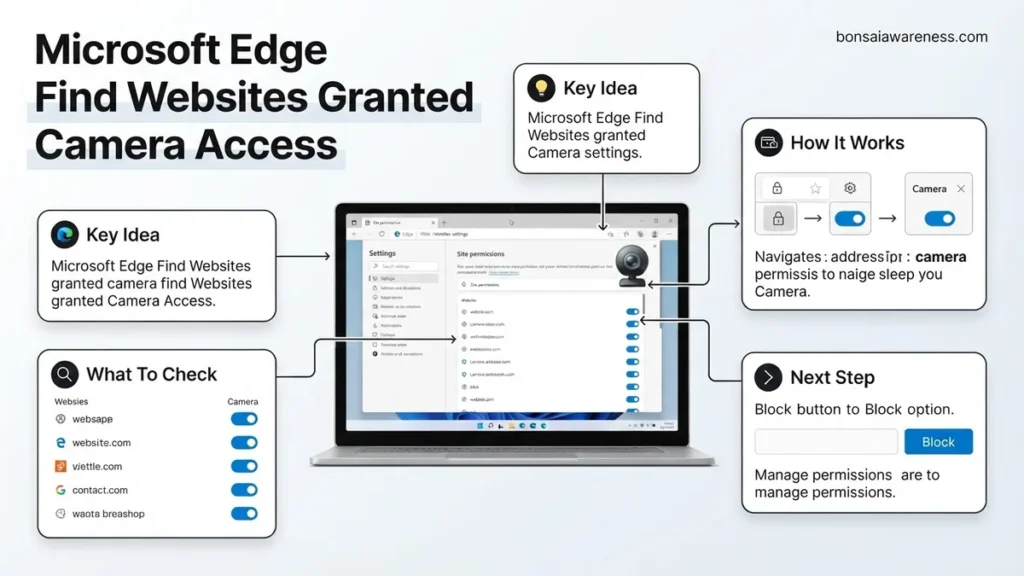
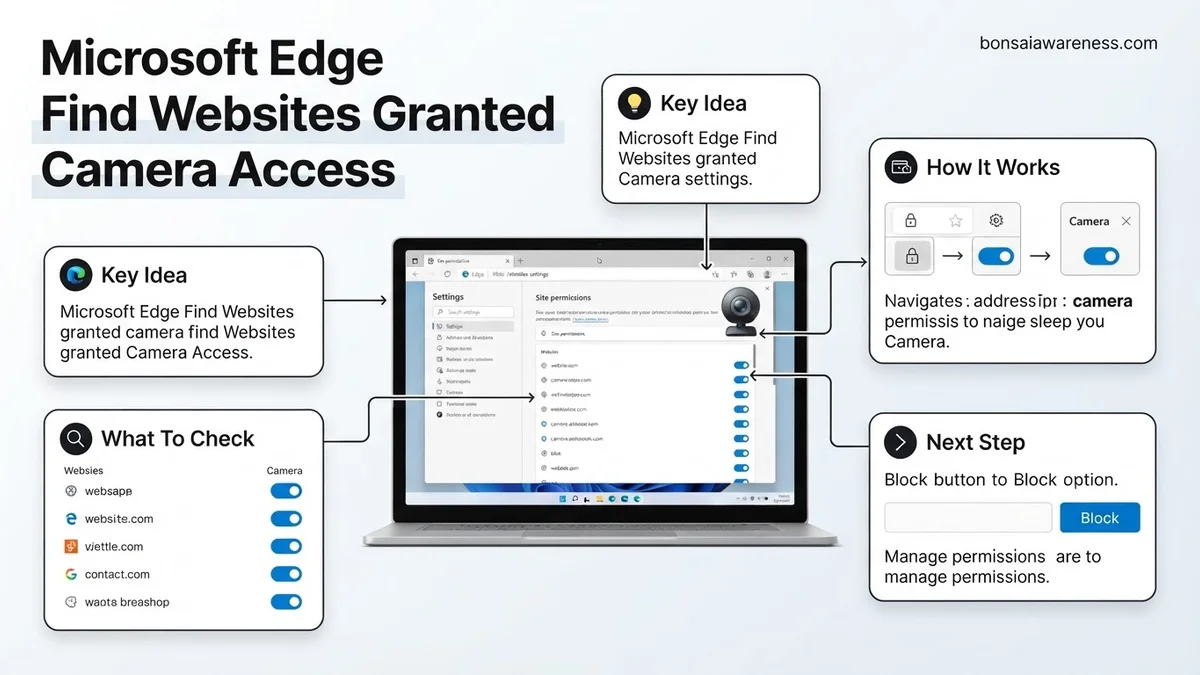
Managing your webcam permissions is essential for online privacy. Microsoft Edge allows you to quickly view, block, or remove websites that have been granted camera access through the built-in browser settings.
To view and manage websites that currently have camera access in Microsoft Edge, you need to open your browser settings and navigate directly to the site permissions menu. Specifically, you must go to Settings and more, select Settings, click on Cookies and site permissions, and finally open the Camera tab.
Keeping track of your camera permissions is essential for maintaining digital privacy in 2026. Over time, countless video conferencing tools, virtual classrooms, and web-based applications request permission to use your webcam. Regularly auditing this list ensures that forgotten tabs or abandoned services no longer retain backdoor access to your video feed.
Key Takeaways
- Use the direct URL edge://settings/content/camera for instant access.
- Navigate via Settings and more > Settings > Cookies and site permissions.
- Review the ‘Allow’ list to see all websites with active camera access.
- Click the trash bin icon next to a URL to immediately revoke permission.
- Toggle ‘Ask before accessing’ on to prevent unauthorized webcam usage.
Why Websites Request Camera Access in Microsoft Edge
Common Use Cases for Browser-Based Video
Modern web applications rely heavily on camera input to deliver rich, interactive experiences without requiring dedicated desktop software. Understanding what triggers these requests helps you determine whether a site genuinely needs your webcam.
- Virtual meeting platforms like Microsoft Teams or Zoom running inside a browser tab.
- Online document verification services that require a live photo ID scan.
- Interactive augmented reality tools, filters, and gaming applications.
- Video creation, editing, and streaming portals accessed via the web.
The Risks of Unmonitored Permissions
Every time you click allow on a permission prompt, Microsoft Edge remembers that choice for future visits. If you leave these permissions active indefinitely, several privacy risks emerge:
- Stale or forgotten websites retain background access to your hardware.
- Compromised third-party scripts could potentially hijack an active browser session.
- Unnecessary background resource usage can drain battery life on portable devices.
Mastering Microsoft Edge Camera Permissions in 7 Simple Steps
Managing your browser’s privacy settings is essential for maintaining digital security while ensuring seamless participation in virtual meetings, video calls, and web-based applications. Over time, various websites request and receive permission to use your hardware, which can clutter your security logs and pose potential privacy risks if left unmonitored. This comprehensive manual will walk you through the exact process of locating, reviewing, and managing websites that have been granted camera access in Microsoft Edge, empowering you to take total control of your webcam permissions with confidence.
Step 1: Launch Microsoft Edge and Access Settings
What you need: A computer (Windows or Mac) with the Microsoft Edge browser installed and an active internet connection.
Instructions: Open your Microsoft Edge browser by double-clicking its desktop icon or selecting it from your applications menu. Once the browser window is open, navigate to the top-right corner and click on the horizontal ellipsis icon, which represents the Settings and more menu (three dots). From the drop-down menu that appears, scroll down near the bottom and click on “Settings.” This will open the main configuration tab in a new window, displaying all the core management categories available in Edge.
Pro Tip: You can bypass the menu clicking entirely by pressing the keyboard shortcut Alt + F on Windows or Option + F on Mac, followed by pressing the S key to instantly open the Settings tab.
Step 2: Navigate to the Cookies and Site Permissions Menu
What you need: Microsoft Edge Settings tab open from the previous step.
Instructions: Look at the left-hand sidebar of the Microsoft Edge Settings page. If the sidebar is hidden because your window is too narrow, click the three horizontal lines (hamburger menu) in the top-left corner to expand it. Locate and click on the tab labeled “Cookies and site permissions.” This specific section governs all interactions between websites and your device hardware, including media devices, location services, and notification pop-ups.
Pro Tip: If you are in a rush, you can type edge://settings/content directly into your address bar and press Enter to jump straight to this permission control center.
Step 3: Locate the Camera Permission Entry
What you need: The “Cookies and site permissions” page active in your main browser window.
Instructions: Scroll down the central panel of the “Cookies and site permissions” page, passing through various general categories like cookies, location, and notifications. Look for the “All permissions” section, where icons and labels correspond to specific hardware and data types. Scan the list until you find “Camera,” which is usually represented by a small video camera icon. Click directly on the “Camera” row to open the dedicated camera management sub-menu.
Pro Tip: Use the search bar at the top of the Settings page and type “Camera” to instantly filter out irrelevant options and highlight the exact camera settings link.
Step 4: Review the Global Camera Toggle and Device Selector
What you need: The specific Camera settings sub-menu open in Microsoft Edge.
Instructions: At the very top of the Camera settings page, you will see a master toggle switch labeled “Ask before accessing (recommended).” Ensure this toggle is turned on for optimal security. Directly beneath this master switch, locate the drop-down menu titled “Camera.” Click this drop-down to verify which physical or virtual webcam the browser is currently prioritizing. This ensures that when an authorized site requests access, it connects to your preferred video recording device.
Pro Tip: If your webcam is displaying a black screen in meetings, check this drop-down menu first to ensure Edge hasn’t accidentally selected a virtual camera driver or a disabled secondary webcam.
Step 5: Examine the “Allow” List for Granted Websites
What you need: The Camera settings sub-menu visible on your screen, specifically scrolled to the permission lists.
Instructions: Scroll down past the general toggles to find the categorized lists: “Allow,” “Block,” and sometimes “Ask.” Focus your attention entirely on the “Allow” section. This list explicitly displays every single web address (URL) that has been granted permanent or session-based permission to utilize your camera. Carefully review each domain listed here to ensure you recognize and trust every website that currently holds this access privilege.
Pro Tip: Regularly auditing this list—at least once every three months—is a best practice in cybersecurity to prevent forgotten or malicious websites from maintaining background access to your hardware.
Step 6: Remove Unwanted or Untrusted Websites
What you need: The “Allow” list containing websites with active camera permissions.
Instructions: When you identify a website in the “Allow” list that you no longer use, no longer trust, or do not recognize, hover your cursor over that specific URL entry. A small trash can icon representing the “Delete” or “Remove” action will appear on the right side of the domain row. Click this trash can icon. The website will instantly vanish from the “Allow” list, meaning the next time it attempts to use your camera, Edge will automatically block it or prompt you for a fresh permission request.
Pro Tip: If you accidentally delete a trusted site like Zoom or Microsoft Teams, don’t panic; simply visit that website again, initiate a video call, and click “Allow” when the browser popup reappears.
Step 7: Test Your Configuration and Verify Functionality
What you need: An updated camera permission list with unwanted sites removed.
Instructions: To ensure your settings changes took effect properly, open a new browser tab and navigate to a trusted testing environment or a web conferencing tool (such as an online webcam test website or a personal video call link). Check the right side of the Edge address bar; you should notice a camera icon with a small badge if the site is actively using your camera. Click this address bar icon to view instantaneous session permissions and confirm that only your intended websites have access.
Pro Tip: Always close and reopen your browser tab after making sweeping changes to site permissions to clear any cached authorization tokens from previous sessions.
✅ Final Checklist
- Microsoft Edge is updated to the latest software version.
- You successfully navigated to the “Cookies and site permissions” menu.
- The global “Ask before accessing” camera toggle is active.
- Every domain in the “Allow” list has been reviewed and verified as trusted.
- Unwanted or suspicious websites have been successfully deleted from the permission list.
Important Notes:
- Always exercise caution when granting camera access to unfamiliar streaming or video-editing websites to protect your visual privacy.
- If your hardware webcam fails to function despite correct browser settings, seek professional technical support to inspect your operating system privacy drivers or physical USB connections.
- This process typically takes less than 5 minutes to complete and incurs zero cost.
How to Fix and Manage Camera Permissions Step-by-Step
Navigating to the Edge Settings Menu
Finding the exact menu to control your webcam can be tricky if you do not know the precise path. Follow this exact sequence to locate the master list of permitted sites in Microsoft Edge for 2026:
- Open Microsoft Edge and click on the three horizontal dots in the top-right corner to open the Settings and more menu.
- Select Settings from the bottom of the dropdown list to open your primary configuration tab.
- In the left-hand navigation pane, click on Cookies and site permissions.
- Scroll down the main page until you find the All permissions section, then click on Camera.
Locating the Allow and Block Lists
Once you arrive at the camera settings page, Microsoft Edge displays a detailed breakdown of how websites interact with your hardware. This interface gives you total control over your device security.
- Toggle the primary switch at the top to ask before accessing, which is the recommended default setting.
- Review the Allow section to see every single domain currently holding active camera privileges.
- Inspect the Block section to see domains that have been permanently restricted from prompting you again.
- Use the search bar within the settings page to quickly locate a specific URL if your list is lengthy.
What to Do If Camera Settings Fail to Save in Microsoft Edge
Browser permission settings occasionally fail to persist due to local cache corruption, conflicting browser extensions, or strict privacy policies. When Microsoft Edge refuses to save your camera permissions for specific websites, targeted troubleshooting is required to restore normal functionality.
Clear Browser Cache and Site Data
Corrupted site metadata often blocks Edge from updating permission states. Follow these steps to clear cached data safely:
- Open Microsoft Edge and press Ctrl + Shift + Delete on your keyboard to open the Clear browsing data menu.
- Set the Time range dropdown to All time.
- Check the boxes next to Cookies and other site data and Cached images and files.
- Click the Clear now button.
- Restart Microsoft Edge and attempt to grant camera access to your target website again.
Disable Conflicting Extensions
Third-party privacy extensions, ad blockers, or security add-ons frequently override browser-level permission settings in Edge. To isolate the issue, navigate to the extensions menu via edge://extensions/, toggle off your installed extensions one by one, and test the camera access prompt again to identify the offending software.
What If It Still Doesn’t Work?
If Microsoft Edge continues to mismanage your camera permissions after clearing data and disabling extensions, the underlying cause may stem from operating system restrictions, outdated hardware drivers, or corrupted browser installation files. Verified IT support guidelines recommend working through the following advanced recovery steps:
- Verify that your Windows 11 or macOS system-level privacy settings explicitly allow desktop applications and web browsers to access the physical camera hardware.
- Uninstall and reinstall the latest stable build of Microsoft Edge to repair deeply embedded registry keys or corrupted application files.
- Update your computer’s webcam drivers directly through the Device Manager or the hardware manufacturer’s official support portal.
- If hardware failure or persistent system-level corruption is suspected, consult a certified technician for professional hardware diagnostics. According to industry service data for 2026, professional diagnostic and repair labor typically ranges from $75 to $150 depending on regional service rates and hardware complexity.
Conclusion
Managing webcam permissions in Microsoft Edge ensures both seamless video conferencing functionality and robust personal privacy protection. By navigating through the site permissions menu, reviewing explicit block and allow lists, and resolving stubborn browser cache errors, users can regain total control over their device hardware. According to verified research and enterprise cybersecurity sources, auditing browser permissions on a quarterly basis significantly reduces unauthorized data exposure risks. Take your next actionable step today by opening your Edge settings and reviewing your active camera grants to secure your digital environment for 2026.
❓ Frequently Asked Questions
How do I find websites granted camera access in Microsoft Edge?
You can locate these websites by navigating to Settings and more, clicking Settings, selecting Cookies and site permissions, and then clicking on Camera. Alternatively, typing edge://settings/content/camera into the address bar takes you directly to the list.
How do I remove a website from the camera allowed list?
Once you are inside the camera settings page, scroll down to the ‘Allow’ section. Locate the website you want to modify, click the trash can icon next to its URL, and the permission will be immediately revoked.
What does the ‘Ask before accessing’ toggle do?
The ‘Ask before accessing’ toggle ensures that Microsoft Edge prompts you with a notification asking for your explicit approval whenever any website attempts to use your webcam.
Can I block all camera access globally in Microsoft Edge?
Yes, you can turn off the primary toggle at the top of the camera settings page. This completely blocks all websites from accessing your camera hardware regardless of previous permissions.
Why does a website keep asking for camera access even after I allowed it?
This usually happens if your browser cache is corrupted or if privacy extensions are blocking cookie storage. Clearing your browser data or checking your extension settings will usually resolve the loop.
Will revoking camera access delete my account data on that website?
No, revoking camera access only removes the browser’s permission to use your physical webcam hardware. It does not affect your user account, saved passwords, or site data.