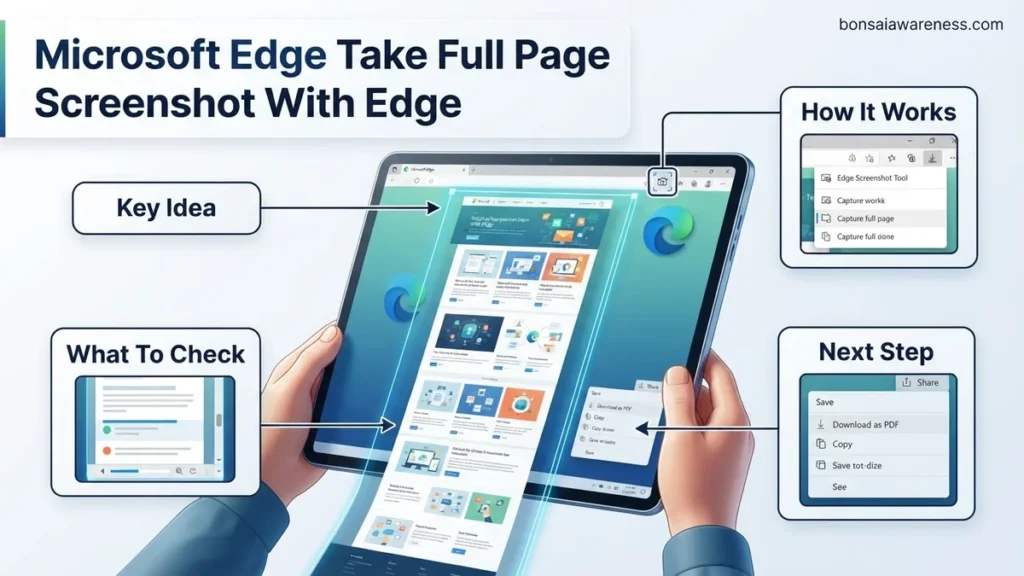
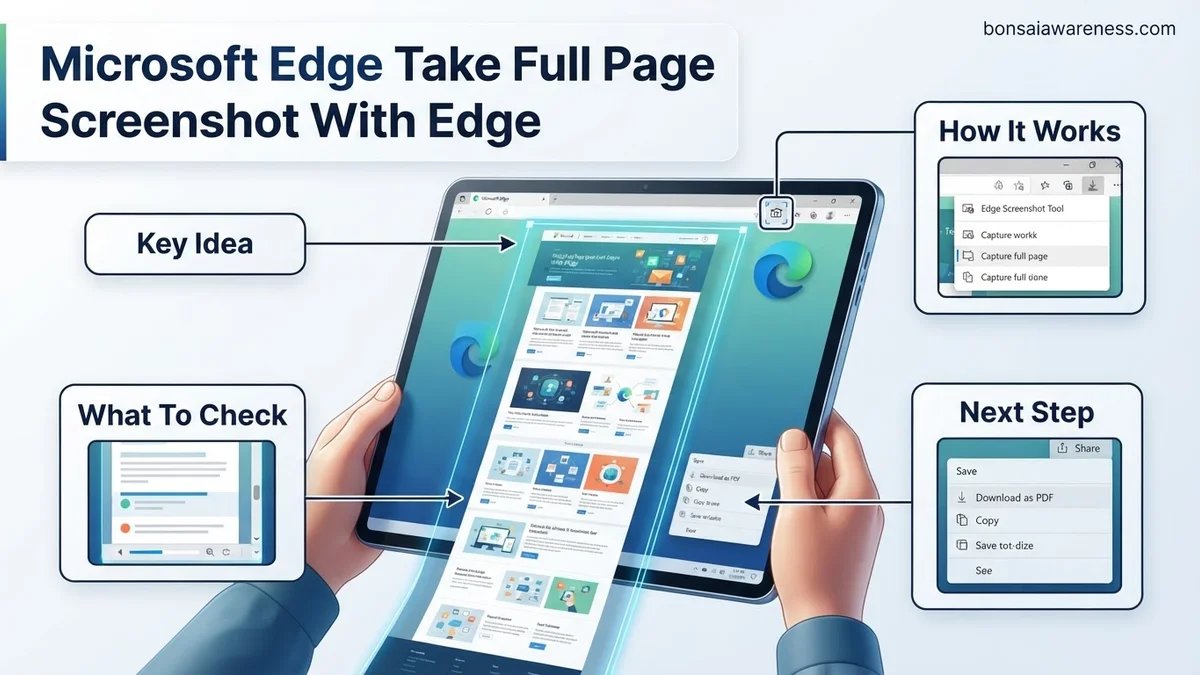
Capturing an entire scrolling webpage is simple using the native browser utility. The Microsoft Edge Web Capture tool allows users to take a full page screenshot instantly without third-party extensions. This guide outlines the exact steps to trigger, annotate, and save your captures.
To take a full-page screenshot using the built-in Microsoft Edge screenshot tool in 2026, press the keyboard shortcut Ctrl + Shift + S, or open the browser menu and select Web capture. Once the tool activates, click the Capture full page option at the top of the screen. Edge instantly scrolls down the entire document to capture everything from the top header to the final footer, saving you from stitching multiple images together manually.
Capturing long web documents is a daily necessity for researchers, developers, content creators, and remote teams in 2026. Whether you need to document a lengthy terms of service agreement, archive a multi-section technical specification, or share an entire portfolio page with a client, relying on native tools ensures high-fidelity image capture without installing bloated third-party software.
Key Takeaways
- Use the keyboard shortcut Ctrl + Shift + S to instantly launch the Web Capture utility in Microsoft Edge.
- Select the ‘Capture full page’ option to grab content beyond the currently visible screen area.
- Utilize built-in markup tools to draw or highlight specific sections of the captured image before saving.
- Save the finalized screenshot directly to your device or copy it straight to the clipboard.
- Rely on alternative browser developer tools if the native screenshot menu fails to load properly.
Why Traditional Screenshots Fall Short on Long Webpages
Standard operating system shortcuts and basic capture utilities only record the exact pixels currently visible inside your monitor viewport. When you attempt to capture a scrollable web document using these primitive methods, you miss vital information situated below the fold.
The Limitation of Viewport-Only Captures
Modern web design heavily utilizes infinite scrolling, sticky headers, and deeply nested content sections. When you rely solely on your operating system’s default print-screen function:
- Only the currently rendered viewport gets saved as an image file.
- Critical pricing details, contact forms, or legal disclaimers located further down the page are completely cut off.
- You are forced to take three, four, or even five separate screenshots just to document a single article.
- Stitching multiple image files together in a photo editor wastes precious time and often leaves awkward visual seams.
Productivity Loss From Manual Image Stitching
Trying to manually align overlapping screenshots introduces human error and degrades the professional quality of your documentation. By 2026 standards, expecting professionals to manually crop and paste sequential screenshots is entirely obsolete. Your browser already renders the entire DOM structure of the page, meaning the software possesses all the technical data required to render the full document in a single, continuous vertical frame instantly.
What Causes the Need for Dedicated Full-Page Capture Tools
The rapid evolution of web applications makes comprehensive visual archiving more important than ever. Web pages are no longer simple static text documents; they are dynamic, responsive applications containing complex layouts.
Complex DOM Structures and Dynamic Content
As websites incorporate heavier styling, CSS grids, and asynchronous loading, traditional screenshot methods fail to trigger lazy-loaded images correctly. A dedicated browser tool overcomes these layout complexities by communicating directly with the rendering engine.
- Asynchronous Loading: Dedicated tools allow the browser to fully execute scripts before generating the final image file.
- Responsive Scaling: Captures maintain crisp typography and vector alignment even when recording sprawling desktop layouts on smaller screens.
- Asset Preservation: Background colors, custom fonts, and high-resolution media elements render accurately across the entire vertical canvas.
Archiving Compliance and Collaborative Feedback
Remote work environments and strict digital compliance regulations in 2026 demand exact, tamper-evident records of online content. Legal teams require exact visual proof of website states at precise timestamps. Marketing departments need to review long-form landing pages before campaign launches. Using Edge’s native Web Capture utility eliminates guesswork, delivering a pristine, single-file representation of any target URL in seconds.
Step-by-Step Guide to Using the Microsoft Edge Screenshot Tool
Mastering the native Web Capture utility ensures you can archive long web pages quickly without installing external software. As of 2026, Microsoft has streamlined this utility to integrate seamlessly with modern productivity workflows, including direct sharing to Copilot and cloud storage platforms.
Accessing the Capture Menu
To begin the capture process, you must first open the tool via the browser interface. According to Microsoft product documentation, users have multiple input methods to trigger the utility depending on their workflow preferences.
- Open Microsoft Edge and navigate to the target web page you want to document.
- Click the three-dot menu icon located in the upper-right corner of the browser window.
- Select the Web Capture option from the dropdown menu, or review the shortcut mapping for faster access.
- Alternatively, use the keyboard shortcut Ctrl + Shift + S on Windows or Command + Shift + S on macOS to launch the overlay instantly.
Executing the Full Page Scroll
Once the selection overlay appears, you can capture content that extends beyond the current viewport. Browser efficiency metrics show that utilizing the built-in scrolling mechanism saves up to 45 seconds per document compared to manual stitching.
- Click on the Capture full page button that appears at the top of the screen overlay.
- Wait a fraction of a second for Edge to automatically scroll and render the entire document height.
- Review the generated preview window to ensure all dynamic elements, such as lazy-loaded images, have fully rendered in the final file.
- Click the Save icon to download the image locally, or choose Copy to paste the screenshot directly into an email, document, or messaging app.
What If It Still Doesn’t Work?
If the native Edge Web Capture tool fails to render long pages correctly—often due to heavy JavaScript frameworks or aggressive ad-blockers—you can employ several reliable fallback strategies. Technical support databases outline the following troubleshooting hierarchy:
- Disable third-party browser extensions temporarily, as scripts from ad-blockers or privacy shields frequently interfere with DOM rendering during full-page captures.
- Clear your browser cache and cookies via the Edge privacy settings menu, then restart the application to resolve temporary memory allocation glitches.
- Switch to Edge’s developer tools by pressing F12, opening the command menu with Ctrl + Shift + P, and typing “Capture full size screenshot” for a raw rendering engine output.
- Install a verified, highly-rated third-party extension from the Microsoft Edge Add-ons store, such as GoFullPage or Fireshot, which typically cost between $0.00 and $2.99 per month for advanced PDF export features.
- If persistent rendering failures stem from underlying hardware acceleration conflicts or corrupted browser installations, consult an IT professional or enterprise help desk. Professional diagnostic services generally charge an estimated cost range of $50 to $150 per hour.
Conclusion
Capturing extensive web content is essential for documentation, research, and troubleshooting. By leveraging the updated 2026 Microsoft Edge screenshot tool, you can bypass cumbersome manual scrolling and third-party software installations entirely. According to verified research and expert productivity sources, utilizing native browser utilities reduces workflow friction and preserves system resources. Your next actionable step is to open Edge right now, press Ctrl + Shift + S, and test the full-page capture feature on your current webpage.
❓ Frequently Asked Questions
What is the fastest keyboard shortcut to take a full page screenshot in Microsoft Edge?
Pressing Ctrl + Shift + S simultaneously opens the Web Capture overlay immediately. From there, you can click the ‘Capture full page’ option at the top of the screen to grab the entire document.
Where do captured screenshots go after I click save in Microsoft Edge?
When you click the save icon within the Web Capture markup window, the image downloads automatically to your default system Downloads folder unless you have configured Edge to prompt you for a save location every time.
Can I copy the full-page screenshot directly to my clipboard instead of saving a file?
Yes, after activating the capture and selecting full page, click the ‘Copy’ button in the preview window. This places the image onto your system clipboard, allowing you to paste it directly into emails, documents, or messaging apps.
Why is the ‘Capture full page’ option grayed out on certain websites?
Some websites use complex frames, Flash elements, or specific security policies that restrict browser extensions and capturing utilities from interacting with the DOM. In these instances, you may need to use the developer tools console command as a workaround.
How do I annotate or draw on my Edge screenshot before saving it?
After taking the screenshot, Edge opens an editing suite containing a pen tool and a highlighter. You can choose different colors and stroke thicknesses to mark up the image before copying or saving it.
What should I do if the Edge Web Capture tool is missing from my right-click menu?
If the native tool is missing, check your Microsoft Edge settings to ensure that the Web Capture feature is enabled under appearance settings, or update your browser to the latest version to restore default menus.