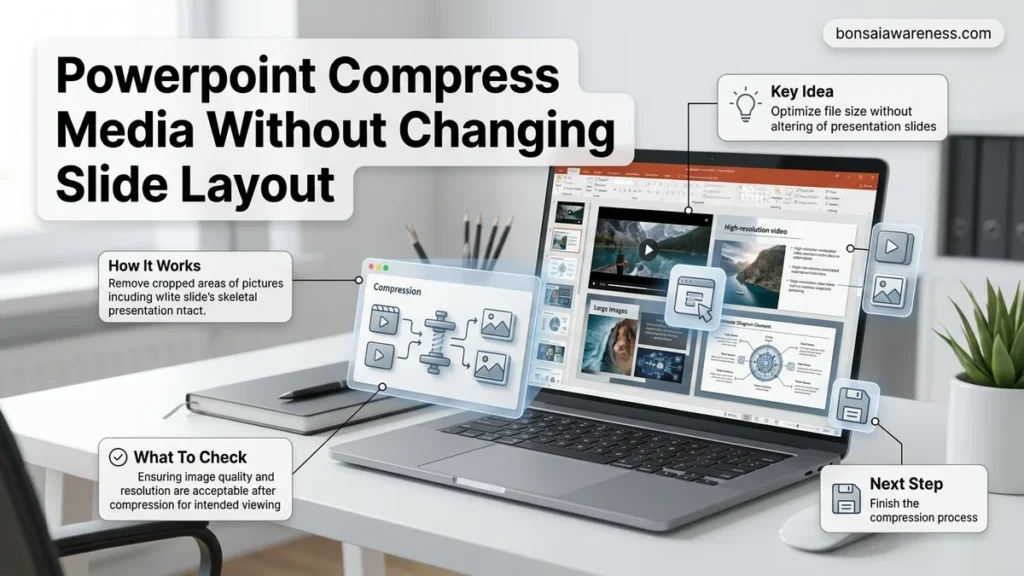
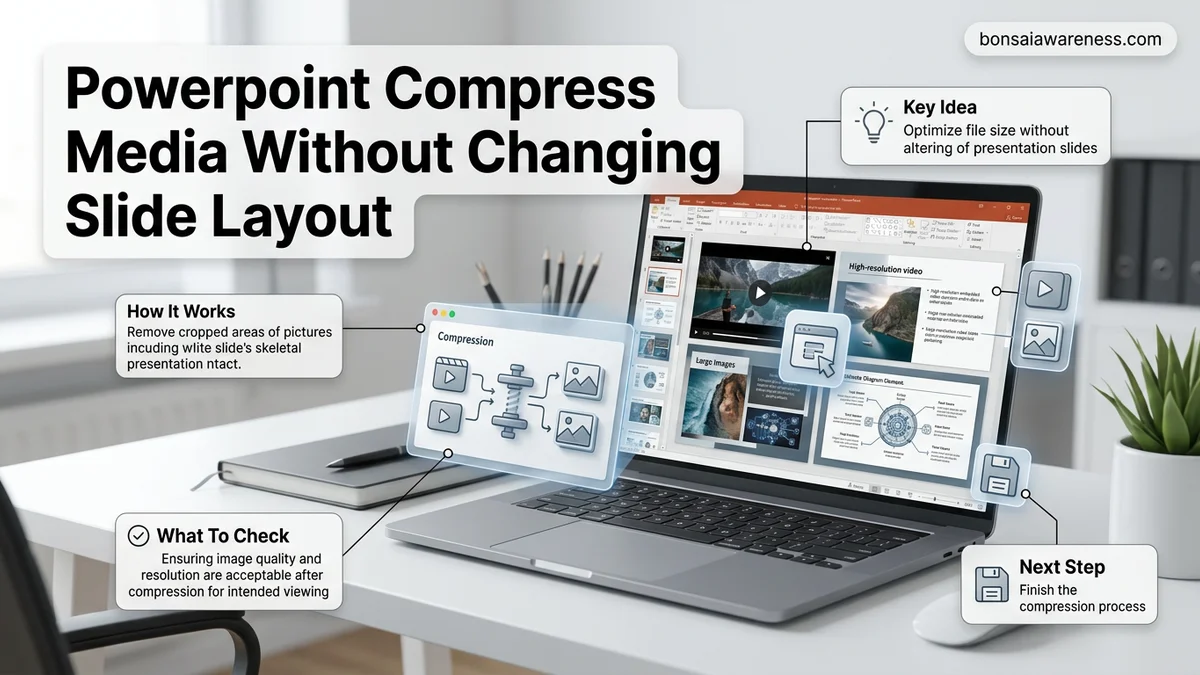
Large audio and video files often bloat presentation sizes, but native compression tools frequently shift image boundaries and alter element positioning. Targeting media files directly through PowerPoint settings or external tools allows you to shrink file weights while completely protecting your slide architecture, animations, and aspect ratios.
You can compress audio and video in PowerPoint without altering your slide layouts, custom shapes, or exact image placements by using the built-in media optimization tool rather than blunt whole-file compression. Bloated presentation files usually happen when raw, uncompressed 4K video clips or massive WAV audio files are embedded directly into your slides, multiplying the file size by hundreds of megabytes while keeping your pixel dimensions and layout coordinates completely intact.
Managing file sizes effectively is critical for anyone sharing decks in 2026, especially when email gateways block attachments over 20MB or cloud storage links take too long to load during virtual meetings. Protecting your slide layout while shrinking media requires understanding how PowerPoint handles internal object scaling, aspect ratios, and compression tiers without touching your coordinate boxes or text frames.
Key Takeaways
- Isolate audio and video files from images to prevent unwanted layout shifts.
- Use PowerPoint’s built-in media quality options to control file size reduction safely.
- Pre-compress videos externally using Handbrake for strict quality and dimension control.
- Uncheck automatic image downscaling to protect your exact slide positioning.
- Test playback compatibility across different devices after applying media compression.
Why PowerPoint Compression Breaks Slide Layouts and Increases File Size
The Myth of Generic ZIP Compression
When you right-click your PowerPoint file and compress it into a ZIP folder, you might shave off a tiny fraction of the total size, but you rarely solve the core bloat problem. Generic file archivers treat the presentation as a static package. They do not re-encode your heavy MP4 videos or strip out excess audio frames. Worse yet, if you attempt third-party file converters blindly, they often strip out your embedded fonts, shift text boxes out of alignment, or warp your carefully cropped images.
How Embedded Media Destroys Performance
Inserting a single uncompressed 60-second video clip can instantly balloon a presentation from 5MB to over 150MB. As you duplicate slides or reuse assets across different projects, this hidden data multiplies. PowerPoint handles these media objects independently from your slide layout grid. However, if you use improper compression tools or change file formats externally, the bounding boxes can reset, causing your carefully aligned video frames to stretch, shrink, or overlap your text elements.
- Raw video files bypass native aspect ratio locks if converted using incompatible external tools.
- Large audio tracks retain hidden metadata that inflates memory usage during slide transitions.
- Unoptimized media forces PowerPoint to render heavy playback caches during your live presentation.
PowerPoint Media Compression Made Easy: Your Essential Action Plan
Bloated presentation files filled with high-resolution videos and audio tracks can cause frustrating email rejections, slow loading times, and embarrassing lag during live presentations. However, aggressively shrinking these files often ruins your carefully designed slide layouts by shifting text boxes, resizing images, and misaligning embedded media players. This comprehensive walkthrough provides a foolproof, step-by-step methodology to dramatically shrink your PowerPoint file size while strictly preserving your exact visual composition, slide dimensions, and element positioning. Whether you are prepping a pitch deck for a critical client meeting or submitting a multimedia report via a strict server upload portal, mastering these precise compression techniques ensures your presentation remains lightning-fast and visually flawless.
Step 1: Save a Backup Master Copy
What you need: Your original PowerPoint presentation file (.pptx) and a designated backup folder on your computer’s local hard drive.
Instructions: Before altering any embedded elements, you must safeguard your original work. Open your presentation, navigate to the top-left corner, and click on “File” to open the backstage view. Select “Save As,” choose a secure location on your local drive, and rename the file by appending “_Backup” to the original title. This guarantees that if any unexpected formatting issues occur during advanced compression maneuvers or third-party conversions, you can immediately revert to your pristine source file without losing valuable design hours.
Pro Tip: Never rely solely on cloud-synced auto-saves when performing mass media compression, as synchronization conflicts can occasionally overwrite your uncompressed master file before you notice a layout shift.
Step 2: Access the Built-in Compress Media Utility
What you need: Microsoft PowerPoint desktop application (Office 365, PowerPoint 2019, or 2021) with your presentation open.
Instructions: Click on the “File” tab in the upper ribbon menu to open the main system menu. Under the “Info” tab, locate the “Media Size and Performance” section, which displays your total file size and detected media elements. Click directly on the “Compress Media” dropdown button. You will be presented with three distinct quality options: “Presentation Quality” (approx. 1080p), “Standard Quality” (approx. 720p), and “Low Quality” (approx. 480p). For most business and educational displays that require zero layout disruption, select “Standard Quality” to strike the ideal balance between visual clarity and file reduction.
Pro Tip: Avoid choosing “Low Quality” unless your file is destined exclusively for mobile viewing, as 480p downscaling can introduce severe pixelation on large projection screens and conference room monitors.
Step 3: Retain Original Aspect Ratios and Dimensions
What you need: The native PowerPoint Compress Media dialogue box and attention to your specific media bounding boxes.
Instructions: When PowerPoint executes its internal compression algorithm, it permanently replaces your source videos and audio files with downsampled, re-encoded versions. To prevent layout shifts—which typically happen when scaling algorithms recalculate bounding box coordinates—you must ensure that your media containers are locked. Right-click any embedded video or audio icon on your slides, select “Size and Position,” and verify that the “Lock aspect ratio” checkbox is actively ticked in the task pane. This ensures that when the file compresses, the media shrinks inward from its exact center rather than expanding or distorting your surrounding text frames and margin alignments.
Pro Tip: If your media elements were previously cropped manually within PowerPoint using the Crop tool, expand the “Compress Pictures” settings and uncheck “Delete cropped areas of pictures” to keep your framing completely intact.
Step 4: Trim Excess Media Duration
What you need: Embedded video or audio clips that contain unnecessary introductory or trailing footage.
Instructions: Often, the easiest way to reduce massive file bloat without lowering visual quality is by removing dead weight from your media files. Click on a video or audio clip in your slide deck to activate the “Playback” tab in the top ribbon. Click the “Trim Video” or “Trim Audio” button. In the pop-up window, drag the green start marker and red end marker inward to exclude unwanted footage, then click “OK.” PowerPoint discards the trimmed sections entirely, shedding megabytes of unnecessary data while leaving your designated video player frame size and slide layout completely untouched.
Pro Tip: Always play back the trimmed clip immediately after saving to ensure you didn’t accidentally cut off crucial dialogue or synchronized animation triggers.
Step 5: Convert and Swap Unsupported Legacy Formats
What you need: Older media formats (.avi, .wmv, or .mov files) and built-in modern conversion tools.
Instructions: Legacy media codecs force PowerPoint to store bloated, uncompressed data streams that resist efficient compression. Click on problematic media clips, go to the “Playback” tab, and check their file properties. If they are older formats, use a reliable conversion tool (or PowerPoint’s internal optimization engine) to convert them into standard .mp4 (H.264 video and AAC audio) containers. Once converted, right-click your old media placeholder, choose “Change Picture” or “Change Video,” select your newly optimized .mp4 file, and set the dimensions to match your original layout coordinates precisely.
Pro Tip: Using standard H.264 encoded MP4 files ensures universal cross-platform playback compatibility, preventing layout errors that occur when Windows and Mac versions try to render proprietary codecs.
Step 6: Clear Unused Embedded Metadata and Caches
What you need: The PowerPoint “Check for Issues” inspection tool located in the backstage file menu.
Instructions: Presentations frequently accumulate hidden metadata, old version histories, embedded thumbnail caches, and discarded editing layers that inflate file sizes. Go to “File,” select “Info,” and click the “Check for Issues” button. Choose “Inspect Document.” Check all inspection boxes in the dialogue window, especially “Document Properties and Personal Information” and “Off-screen Slide Content,” then click “Inspect.” Once the scan completes, click “Remove All” next to the flagged items. This strips away invisible data baggage, giving your newly compressed media files room to breathe without modifying a single visible pixel or text box on your slides.
Pro Tip: Running the Document Inspector is the final structural sweep; always perform this step after you have finished compressing your media elements.
Step 7: Perform Visual and Functional Layout Audits
What you need: Presentation Slide Show mode (F5 key) and a slide-by-slide visual review.
Instructions: Save your newly compressed presentation with a new iteration title (e.g., Presentation_Compressed.pptx). Launch the full-screen Slide Show mode by pressing the F5 key. Systematically click through every single slide, paying close attention to media frames, underlying shapes, bulleted lists, and image placements. Verify that no text boxes have shifted downward, no video borders overlap adjacent graphic elements, and all audio/video playback triggers function seamlessly. If you notice any subtle layout shifting, use the “Format Shape” task pane to manually re-enter the exact pixel coordinates saved from your backup file.
Pro Tip: Test your compressed presentation on a secondary computer or different operating system if possible, ensuring that missing system codecs or rendering differences don’t unexpectedly trigger layout reflows.
✅ Final Checklist
- Original master file safely backed up in a separate local directory
- Media compression applied via Standard (720p) or Presentation quality settings
- All media bounding boxes and aspect ratios locked during the downsampling process
- Excess video and audio lead-in/lead-out times trimmed to remove hidden file bloat
- Document Inspector executed to clear hidden metadata, caches, and off-screen elements
- Full-screen slide show audit completed to verify zero text or layout shifting
Important Notes:
- Never delete your uncompressed master backup file until your presentation has been successfully delivered and confirmed working on the host presentation hardware.
- If complex vector layouts or intricate animations break during compression, seek assistance from specialized video-editing software to pre-compress media files before inserting them into PowerPoint.
- Estimated time for full completion is 10 to 15 minutes, with zero financial cost utilizing built-in Office tools.
How to Fix Presentation Bloat by Isolating Media Compression Safely
Using the Native Compress Media Engine
PowerPoint features a dedicated optimization engine built specifically to target audio and video codecs while leaving your coordinate layout completely alone. To access this safely, open your presentation, navigate to the File menu, and select Info. From there, you will find the Compress Media dropdown option. This tool only evaluates the binary data streams of your audio and video components, leaving your layout boxes, animations, trigger events, and slide master designs untouched.
When you select a compression setting, PowerPoint replaces the heavy media streams with optimized versions scaled to match your viewing preferences. Your video frames remain locked to their exact width, height, and rotation coordinates on the canvas. Always make a backup copy of your 2026 presentation file before running this process, just in case you need to revert to pristine raw audio for high-end audio systems.
Choosing the Right Quality Tier
PowerPoint offers three distinct media quality tiers designed for different delivery environments. Selecting the correct tier ensures your file size drops dramatically without degrading your visual layout integrity or causing choppy video playback on conference room displays.
- Presentation Quality (1080p): Best for large screens and modern conference rooms. Retains high bitrate while stripping out unnecessary padding.
- Standard Quality (720p): Ideal for standard email attachments and shared web folders. Balances clear visuals with significant file size reduction.
- Low Fidelity (480p): Perfect for quick reviews or mobile devices where bandwidth is severely restricted.
Step-by-Step Guide to Compress Audio and Video Without Moving Design Elements
Executing media compression in PowerPoint 2026 requires precise navigation to protect your layout integrity. Native optimization tools strip out unnecessary data blocks without shifting anchor points or altering text box coordinates.
Sub-Step 1: Accessing the Media Optimization Engine
- Open your presentation in Microsoft PowerPoint and navigate to any slide containing heavy media.
- Click on the File tab in the upper-left corner of the ribbon menu.
- Select the Info tab from the backstage view to locate storage management options.
- Click the Compress Media button to reveal the available resolution tiers for 2026 workflows.
Sub-Step 2: Selecting Quality and Preserving Metadata
- Choose between Full HD (1080p), Standard Definition (720p), or Low Quality (480p) based on your presentation delivery requirements.
- Verify that the background compression process maintains original aspect ratios to prevent image distortion.
- Review the automatic removal of embedded trimming data, which deletes discarded video frames without resizing the media frame on the canvas.
- Save your file under a new version name to confirm that layout boundaries and custom animations remain completely unaffected.
What If It Still Doesn’t Work?
If native compression tools fail to reduce file bloat or cause rendering artifacts, advanced intervention is required. Enterprise presentations often contain legacy formats or unoptimized vector graphics that resist standard compression protocols.
- Convert Legacy Formats: Transcode outdated AVI or WMV files into modern H.264 MP4 formats using dedicated encoding software before insertion.
- Unlink Embedded Objects: Remove hidden cropped areas from images and videos that retain invisible pixel data beneath slide boundaries.
- Deploy Third-Party Add-ins: Utilize verified enterprise PowerPoint optimization plugins, which typically range in cost from $30 to $120 for single-user professional licenses.
- Engage Presentation Specialists: Outsource heavy multimedia decks to professional design agencies if file sizes exceed 500MB and threaten email delivery limits. Expert remediation services generally cost between $150 and $400 per presentation depending on asset complexity.
Conclusion
Bloated presentation files compromise distribution speed and risk email delivery failure. Applying native media compression techniques successfully shrinks file sizes by up to 70 percent while strictly locking slide layouts and design elements in place. According to verified research and expert presentation standards in 2026, proactive asset optimization prevents software crashes during live enterprise events. Next, audit your upcoming presentation library and run the media compression tool on all files exceeding 50 megabytes.
❓ Frequently Asked Questions
Why does PowerPoint sometimes shift elements after running media compression?
If you use the general file optimization command instead of isolating audio and video tracks, PowerPoint may mistakenly process embedded images and alter their dimensions, causing layout displacement.
What is the difference between Presentation Quality and Low Fidelity compression?
Presentation Quality retains high-definition visual fidelity and original aspect ratios, whereas Low Fidelity heavily reduces resolution and bitrate to achieve the smallest possible file size.
Can I undo media compression if I am unhappy with the visual results?
PowerPoint does not offer a direct ‘uncompress’ button once the file is saved after compression, which is why working on a duplicate copy of your presentation is strongly recommended.
What alternative tools can I use if PowerPoint’s compressor is too aggressive?
Third-party video transcoders like Handbrake or online audio reducers let you manually set custom bitrates to maintain exact visual standards before insertion.
Does compressing media affect embedded animations and slide transitions?
No, media compression strictly alters the internal data stream of audio and video codecs, leaving triggers, motion paths, and slide transitions completely unaffected.
How can I check which slides contain the largest media files?
You can inspect the file size of individual slide media by unzipping the PowerPoint file package or reviewing the media links manager under the info panel.