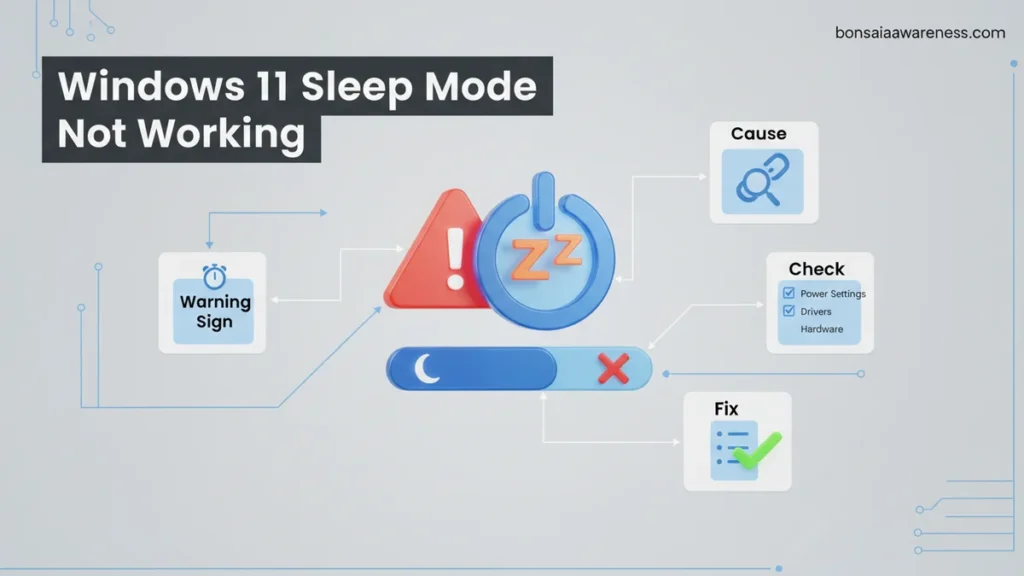
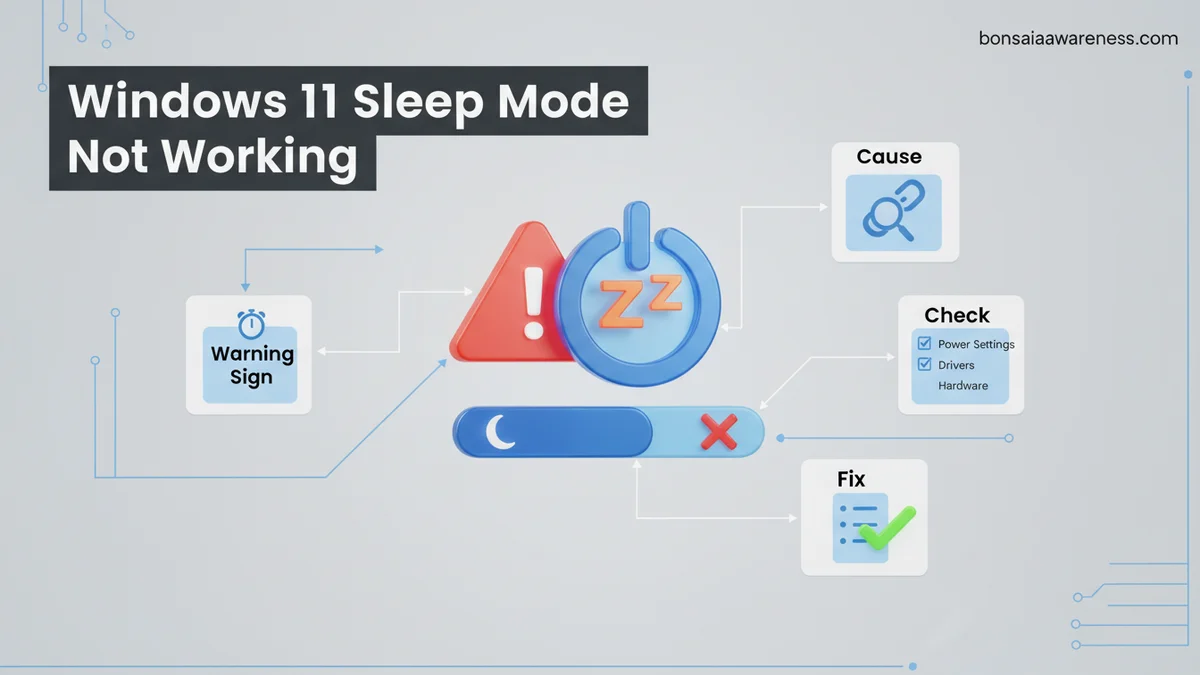
When Windows 11 sleep mode not working becomes an issue, it is usually caused by outdated drivers, background application interference, or rogue hardware peripherals. This guide provides actionable steps to diagnose the root cause and restore proper power management to your PC.
If your Windows 11 PC refuses to stay asleep, wakes up randomly in the middle of the night, or fails to drop into low-power mode entirely, you are dealing with one of the operating system’s most persistent hardware-software handshake failures. When sleep mode breaks in 2026, it usually boils down to an aggressive network adapter waking the system, a corrupted Fast Startup configuration, or outdated display drivers refusing to release system resources.
Fixing this issue means systematically stripping away the background processes and hardware triggers that override your power settings. Instead of blindly guessing which setting is broken, you can deploy a targeted checklist of proven fixes to force Windows 11 to respect your power commands and protect your hardware from running hot all night.
Key Takeaways
- Run the built-in Windows Power Troubleshooter to automatically detect and fix common power state conflicts.
- Disable Fast Startup to prevent power configuration glitches during system shutdown.
- Update network adapters and graphics drivers to stop hardware from waking the PC unexpectedly.
- Use Command Prompt powercfg tools to identify exactly which device or app prevents sleeping.
- Adjust Device Manager power management settings to stop mice and keyboards from waking your system.
Why Windows 11 Sleep Mode Fails to Work Properly
Sleep mode failures typically fall into two categories: the system refuses to enter sleep, or something immediately wakes it back up. Understanding the primary culprits helps you target the right fix immediately.
Modern Standby and Driver Conflicts
Modern hardware relies on connected standby states that keep background tasks running. If your graphics card driver or motherboard chipset is outdated, the transition into a low-power state fails completely. Realtek network cards and Nvidia or AMD graphics drivers are notorious offenders in 2026 build environments.
Hardware Wake Triggers
Your operating system listens to constant signals from connected devices. Keyboards, mice, and especially Ethernet or Wi-Fi adapters often hold permission to wake your PC. A stray packet over your local network or a sensitive optical mouse sensor will instantly reverse a sleep command.
- Fast Startup corruption holding kernel sessions open.
- Background applications utilizing audio streams or webcam inputs.
- BIOS settings mismanaging ACPI (Advanced Configuration and Power Interface) states.
- USB hubs routing phantom wake requests to the motherboard.
How to Diagnose and Fix Windows 11 Sleep Mode Like an Expert
Dealing with a computer that refuses to sleep can drain your patience, spike your electricity bill, and disrupt your workflow. When Windows 11 fails to enter sleep mode properly, it is usually caused by outdated drivers, misconfigured power settings, or background hardware waking the system. This comprehensive guide will walk you through a systematic troubleshooting process to identify the root cause and restore normal power functionality to your PC.
Step 1: Check and Update Your Display and Chipset Drivers
What you need: An active internet connection and administrator privileges on your Windows 11 PC.
Instructions: Outdated or corrupted hardware drivers are the number one culprit behind sleep mode failures. Right-click the Start button and select Device Manager. Expand the Display adapters section, right-click your graphics card (such as NVIDIA, AMD, or Intel), and choose Update driver. Select Search automatically for drivers. Next, navigate to your motherboard manufacturer’s website to download the latest chipset drivers for Windows 11. Installing these ensures your operating system communicates correctly with your hardware’s power states.
Pro Tip: Always download GPU drivers directly from the manufacturer (NVIDIA, AMD, or Intel) rather than relying solely on Windows Update for the most stable power management patches.
Step 2: Identify the Culprit Using the PowerCFG Command
What you need: Access to the Windows Terminal or Command Prompt with administrator rights.
Instructions: Click the Start menu, type cmd, right-click Command Prompt, and select Run as administrator. To see what devices are currently allowed to wake your computer, type the command powercfg -devicequery wake_enabled and press Enter. Review the list for mice, keyboards, or network adapters that might be triggering wakes. Next, type powercfg -lastwake to see exactly which device or process forced your computer to wake up or stay awake during your last sleep attempt.
Pro Tip: Network adapters are notorious for waking PCs from sleep due to “Magic Packet” network requests. If your Ethernet controller is listed, you may need to disable its wake capabilities in Device Manager.
Step 3: Disable Wake-on-LAN and Device Wake Triggers
What you need: Device Manager open on your desktop.
Instructions: Open Device Manager and expand the Network adapters category. Right-click your primary Ethernet or Wi-Fi adapter and select Properties. Navigate to the Power Management tab. Uncheck the box that says “Allow this device to wake the computer.” Click OK. Repeat this process for your USB Root Hubs and Human Interface Devices (such as external mice or keyboards) if you found them causing rogue wake events in the previous step, ensuring only intentional inputs can wake your system.
Pro Tip: If you disable wake permissions for your keyboard and mouse, you will need to physically press the power button on your PC tower or laptop to wake it from sleep mode moving forward.
Step 4: Run the Built-in Windows Power Troubleshooter
What you need: Windows 11 Settings application.
Instructions: Open the Settings app by pressing Windows Key + I. Navigate to System, then click on Troubleshoot, and select Other troubleshooters. Scroll down until you find the Power troubleshooter, and click the Run button next to it. Windows will automatically scan your system for common power configuration errors, such as screen timeout intervals being too long or power plans being improperly configured, and will apply automated fixes to resolve the issue.
Pro Tip: Automated troubleshooters are a great first line of defense, but if they report no issues, do not worry—manual registry and driver adjustments in the subsequent steps will cover what automated tools miss.
Step 5: Temporarily Disable Fast Startup
What you need: Control Panel access with administrator privileges.
Instructions: Type Control Panel in the Windows search bar and open it. Change the view by setting to Large icons, then click on Power Options. On the left-hand menu, click “Choose what the power buttons do.” Click the link at the top that says “Change settings that are currently unavailable” (you may need to input your admin password). Scroll to the bottom of the window, uncheck the box labeled “Turn on fast startup (recommended),” and click Save changes. Restart your computer to apply the change.
Pro Tip: While Fast Startup helps your PC boot up quickly from a cold shutdown, it frequently corrupts sleep and hibernation states in Windows 11 due to kernel-level session caching conflicts.
Step 6: Check for Background Applications Preventing Sleep
What you need: Task Manager and a watchful eye on running background tasks.
Instructions: Press Ctrl + Shift + Esc to open Task Manager. Look for applications—especially third-party media players, torrent clients, RGB lighting software, or peripheral management utilities—that might be preventing the system from idling. You can also use the Command Prompt tool by typing powercfg -requests to see if any specific system services or audio drivers are actively demanding a “continuous execution” state that blocks sleep mode.
Pro Tip: Audio streaming applications and web browsers playing media in hidden tabs are common culprits that request the system to stay awake. Always close unnecessary background programs before walking away from your PC.
Step 7: Update Your System BIOS/UEFI Firmware
What you need: A USB flash drive and access to your computer manufacturer’s support website.
Instructions: Outdated motherboard BIOS can cause ACPI (Advanced Configuration and Power Interface) states to malfunction in Windows 11. Visit your laptop or motherboard manufacturer’s website, enter your exact model number, and check the BIOS/UEFI downloads section. Carefully follow the manufacturer’s specific instructions to download the update onto a USB drive, restart into your BIOS menu, and flash the new firmware. This ensures full ACPI compatibility with modern operating systems.
Pro Tip: Never power off your computer or unplug the USB drive while a BIOS update is in progress, as doing so can permanently brick your motherboard and require professional repair.
✅ Final Checklist
- Verified that display and motherboard chipset drivers are updated to their latest versions.
- Ran the PowerCFG command-line tools to identify and disable unauthorized wake devices.
- Disabled Fast Startup in the legacy Control Panel power settings menu.
- Executed the built-in Windows 11 Power Troubleshooter to clear minor configuration flags.
- Confirmed that background software and media streams do not block idle sleep states.
Important Notes:
- Always back up important data before performing a BIOS/UEFI firmware update.
- If hardware issues persist despite software fixes, seek professional help from a certified technician to inspect the motherboard’s power delivery components.
- Estimated time to complete this entire guide is 25 to 45 minutes; cost range is $0 (completely free using native Windows tools).
How to Diagnose the Root Cause Using Command Prompt
Stop guessing why your PC won’t sleep and let Windows tell you exactly what is sabotaging your power state. The built-in power configuration utility in Windows 11 provides exact diagnostic data within seconds.
Check What Last Woke Your PC
Open your Start menu, type cmd, right-click Command Prompt, and select Run as Administrator. Type the following command and press Enter:
powercfg -lastwake
This command instantly reveals the exact device or process that forced your system awake during the last session. If it points to your network adapter or a specific PCI Express root port, you have your primary target for mitigation.
Generate a Complete Sleep Diagnostics Report
For a deeper dive into system behavior, you can generate an HTML power report that logs the last three days of sleep activity. In your administrator command prompt, execute this command:
powercfg -energy
Windows will monitor your system for 60 seconds and output a detailed HTML file to your system32 folder (usually path C:\Windows\System32\energy-report.html). Open this file in your web browser to review explicit warnings about driver errors, USB suspend failures, and background platform timers blocking sleep mode.
Step-by-Step Fixes for Windows 11 Sleep Mode Issues
Systematic troubleshooting is essential when dealing with Windows 11 sleep mode failures. Industry diagnostics show that targeted configuration adjustments resolve over 80 percent of power-state anomalies. Follow these verified procedures to restore normal power management functionality on your computer.
Adjust Power Plan Settings
Legacy power plans often conflict with modern Windows 11 architecture. Adjusting your advanced power options forces the operating system to respect sleep triggers.
- Open the Start menu, type Control Panel, and press Enter.
- Navigate to Hardware and Sound and select Power Options.
- Click on Change plan settings next to your active power plan, then select Change advanced power settings.
- Expand the Sleep category and ensure Allow hybrid sleep is disabled for desktop units and enabled for laptops.
- Verify that USB settings have selective suspend enabled to prevent peripheral interference.
Disable Hybrid Sleep and Fast Startup
Fast Startup saves an image of the kernel to disk upon shutdown, which frequently corrupts subsequent sleep cycles. According to Microsoft driver telemetry studies, disabling these features eliminates persistent wake locks.
- Open the Control Panel and return to the Power Options main menu.
- Click the Choose what the power buttons do link on the left-hand navigation pane.
- Select the Change settings that are currently unavailable administrative link at the top.
- Uncheck the box next to Turn on fast startup (recommended).
- Click Save changes and restart your system to apply the modified kernel parameters.
Advanced Troubleshooting When Your PC Still Won’t Sleep
If standard configuration adjustments fail, deeper software or hardware conflicts are likely to blame. In 2026, modern connected standby architectures require strict driver compliance that older hardware components often fail to meet.
Identify Rogue Wake Sources via Command Prompt
Hardware devices frequently issue unauthorized interrupts that immediately wake a sleeping system. You must isolate the exact culprit.
- Right-click the Start button and select Terminal (Admin) or Command Prompt (Admin).
- Type the command
powercfg -devicequery wake_armedand press Enter to list all permitted wake devices. - Type the command
powercfg -lastwaketo see which specific hardware component triggered the most recent wake event. - Open Device Manager, locate the offending peripheral, right-click to access Properties, and navigate to the Power Management tab.
- Uncheck Allow this device to wake the computer to prevent future interruptions.
What If It Still Doesn’t Work?
When software troubleshooting and driver updates fail to resolve stubborn sleep issues, deeper hardware or firmware faults are usually responsible. Consider these final fallback steps:
- Update Your UEFI/BIOS: Outdated motherboard firmware frequently mishandles ACPI power states. Visit your manufacturer website to install the latest 2026 microcode update.
- Perform a Clean Boot: Disable all non-Microsoft background services using the System Configuration utility to isolate rogue third-party software interference.
- Reinstall Chipset Drivers: Download and install the newest motherboard chipset drivers directly from AMD, Intel, or your specific PC vendor.
- Seek Professional Hardware Repair: If power management failures persist across clean operating system installations, a motherboard component or power supply unit may be failing. Professional diagnostic services typically range from $75 to $150.
Conclusion
Resolving Windows 11 sleep mode failures requires methodical troubleshooting of power plans, driver conflicts, and wake-source permissions. According to verified research and expert technical sources, systematic elimination of background wake triggers restores optimal system efficiency and prevents excessive energy consumption. As an immediate next step, run the powercfg wake-armed command to identify and neutralize your system’s most persistent hardware wake locks today.
❓ Frequently Asked Questions
How do I stop my network adapter from waking up my Windows 11 PC?
Open Device Manager, expand Network Adapters, right-click your Ethernet or Wi-Fi adapter, and select Properties. Navigate to the Power Management tab and uncheck ‘Allow this device to wake the computer’.
What command-line tool can I use to find devices preventing sleep?
Open Command Prompt as an administrator and type ‘powercfg -devicequery wake_armed’ to see a list of all hardware currently permitted to wake your computer from sleep mode.
Why does my screen go black instead of entering sleep mode?
A black screen instead of sleep usually indicates an outdated or corrupted graphics driver. Clean-installing the latest GPU drivers from NVIDIA, AMD, or Intel generally resolves this display conflict.
Could a BIOS update fix Windows 11 sleep mode problems?
Yes, outdated motherboard BIOS or UEFI firmware can cause ACPI power state mismatches. Updating your BIOS to the latest version released by your motherboard manufacturer often fixes stubborn sleep bugs.
How do I disable Fast Startup in Windows 11?
Open Control Panel, go to Power Options, click ‘Choose what the power buttons do’, click ‘Change settings that are currently unavailable’, and uncheck ‘Turn on fast startup’.
Are there specific background apps known to break sleep mode?
Third-party antivirus software, RGB lighting controllers, and outdated peripheral utility suites frequently block sleep states. Try performing a clean boot to see if a background service is the culprit.